How Drywall Repair Hamilton can Save You Time, Stress, and Money.
Wiki Article
Drywall Taping Hamilton Things To Know Before You Buy
Table of ContentsThe Greatest Guide To Ceiling Repair Hamilton3 Easy Facts About Ceiling Repair Hamilton DescribedHow Hamilton Drywall Repair can Save You Time, Stress, and Money.The Drywall Installation StatementsAll About Drywall Repair Hamilton
Mounting drywall is not brain surgery, however it will go faster and also look much better if you discover the fundamentals prior to you begin (rather of after you're done). Drywall is just one of the easiest-to-use and most inexpensive construction materials in the world. Even a major mistake will certainly make you laugh, understanding you have actually squandered little time and possibly less than 5 bucks.We'll reveal you the strategies as well as tools the pros use to obtain the drywall work done quick as well as in a manner that makes taping as painless as feasible.
Puncture the paper support to get rid of the waste. To assist locate where screws will certainly go around the space, mark the top plate in any way areas where strapping or joists converge the wall surface. Image by David Carmack With an aide, hoist the initial panel into one edge of the ceiling (drywall repair Hamilton).
As the aide holds the panel, drive 5 screws, uniformly spaced, in a line across the panel's size and also right into the joist or strapping closest to the center of the panel. Use the marks on the top plate to help align the screws. Keep screws at least inch from all edges.
What Does Ceiling Repair Hamilton Mean?
Repeat this five-screw line at each joist or piece of strapping. Continue the row in exact same fashion until reaching the contrary wall surface. Begin the next row making certain all end joints counter the panels in the initial row by a minimum of 4 feet. Tip: Include a screw following to any type of screw head that damages the paper.
Mark that panel end where the tape measure fulfills it as well as tape the range. Cover the box with an additional panel, and attach it as symphonious 3; do not drive screws any type of closer to package than 24 inches. From the mark on the last installed panel, distribute onto the brand-new panel the same number of inches recorded previously, and mark the place with an X.
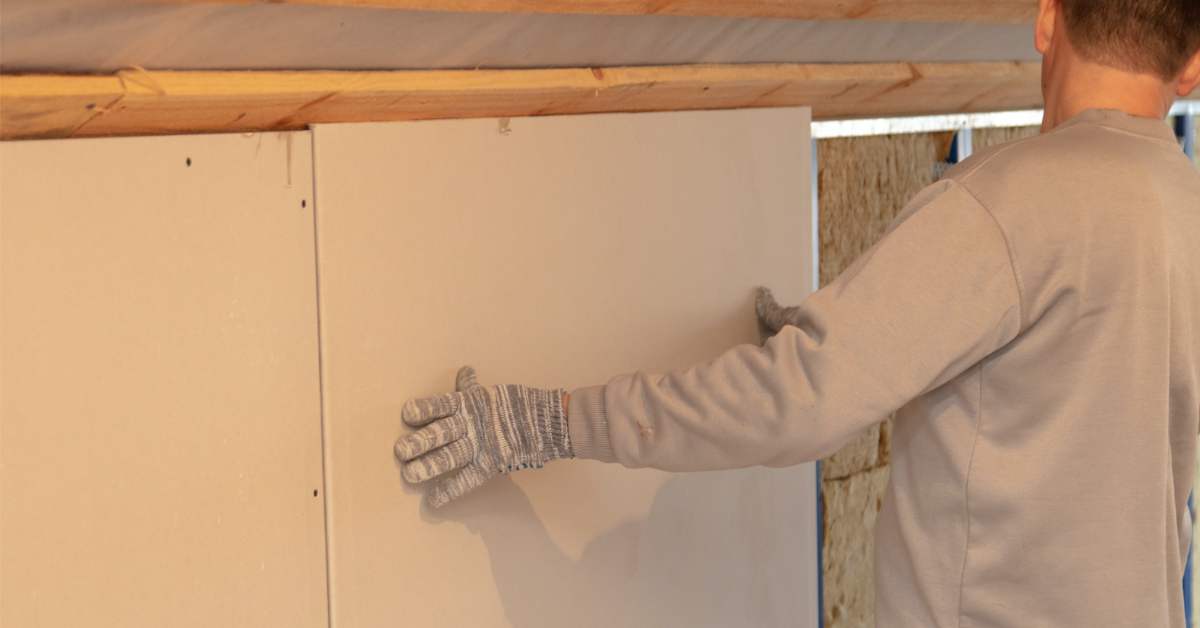
Usage a measuring tape to make sure the initial panel's end will certainly land in the center of a stud; if it won't, reduced the panel as in Step 2. With an assistant, hold the panel versus the studs to ensure that one side butts against the ceiling panel and one end fits well against the abutting wall surface.
The 9-Minute Rule for Drywall Installation
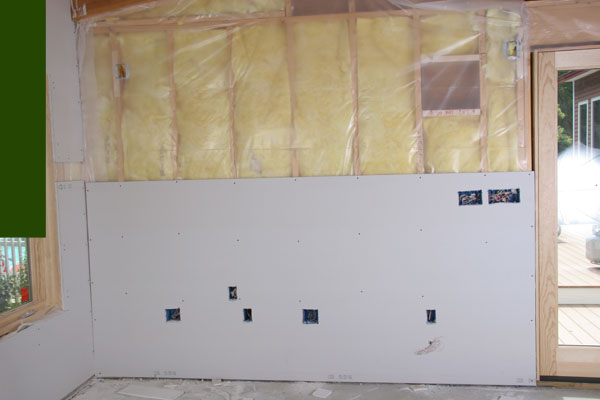
Proceed hanging panels along the top of the click wall, right over any home window and door openings. Make certain no joints line up with a door or home window corner.Do not screw panels to the mounting around the openings yet. Cut out the switch as well as outlet boxes complying with the exact same treatment just like the ceiling boxes in Action 3: Mark the box locations before covering them with drywall, taking care not to drive any type of screws closer to every box than 24 inches.
Overlap this subjected end with the panel on the adjacent wall surface, so that the edge is completely framed in drywall. Cover outside corners with a steel edge bead, reduced to the elevation of the wall.
Attach the grain with 1 -inch drywall nails, hammered every 10 inches via the perforations in each leg to home improvement for dummies make sure that the legs are tight to the wall surface and also the edge is not misshaped by any means. Do the same on the adjoining wall. Picture by Gregory Nemec Drywall contractor Paul Landry thinks that carpenters frame wall surfaces so they are level and straight.
Getting My Drywall Repair Hamilton To Work
On outside walls, it's unusual to find a stud that bows into the space, due to the fact that the sheathing holds it in location. When Landry does, his only option is to power-plane the side of the stud back right into positioning. We describe the kinds of drywall and where each type should be used.
We additionally supply an ARTICLE INDEX for this subject, or you can try the web page top or bottom SEARCH BOX as a fast way to discover info you need. This write-up collection talks about and also provides a best building practices direct to the choice and setup of constructing interior surface products, carpeting, doors, drywall, trim, floor covering, lights, plaster, products, finishes, and also appear control products.
The Basic Principles Of Drywall Mudding
The contractor or developer can play an essential duty in helping the homeowner pick surfaces that are fit to the intended use, as well as offering the architectural assistance and also preparation work the materials require for great performance. Single-layer, 1/2-inch drywall is the default wall click over here now as well as ceiling treatment in many household building.
Report this wiki page